Disney AR Experience
Using AR (Augmented Reality) technology to prototype two add-on features for an existing app that Disney just launched for their parks.

Image from Disney Blog
Current App
PLAY is an app that Disney launched Summer of 2018 to keep visitors more immersed in the parks without putting down their phones. The app currently offers trivia games and playlists that can be accessed at any time, in or outside the park. The location-based games are meant to be played while visitors are waiting in line for rides with consistent long lines. The games use elements shown in the line to keep the visitor engaged in their surroundings while still moving along the line.
Suggested new Features
Disney has always promoted the idea of Magic all around us. With the advancements in AR technology, we can now add a little Magic to our world. Inspired by movies, Mary Poppins, Pete’s Dragon, and Bedknobs & Broomsticks, I looked for a way to provide users with an infusion of animation their surroundings. The same way Mary Poppins jumps into the drawing with the kids or Elliot befriends a lonely Pete; users can use their phone to activate the magic around the park.
Face Masks or Face Filters
Using Facebook’s AR Spark Studio and Photoshop I was able to bring my ideas for Face Filter masks to life.
AR Scavenger Hunt
Using Facebook’s Spark AR studio, and 3D designs from Sketchfab, I was able to create a scavenger hunt based on the statues found in Disneyland and California Adventure Park.
Facemask process
Photoshop
These vector face came from Josue Gil from the Noun Project
To create a face filter, first I needed the filter image. I used to The Noun Project for this task as their site has some great vectors to utilize. Once I decided on my faces; I downloaded the files and began to edit them in Photoshop.
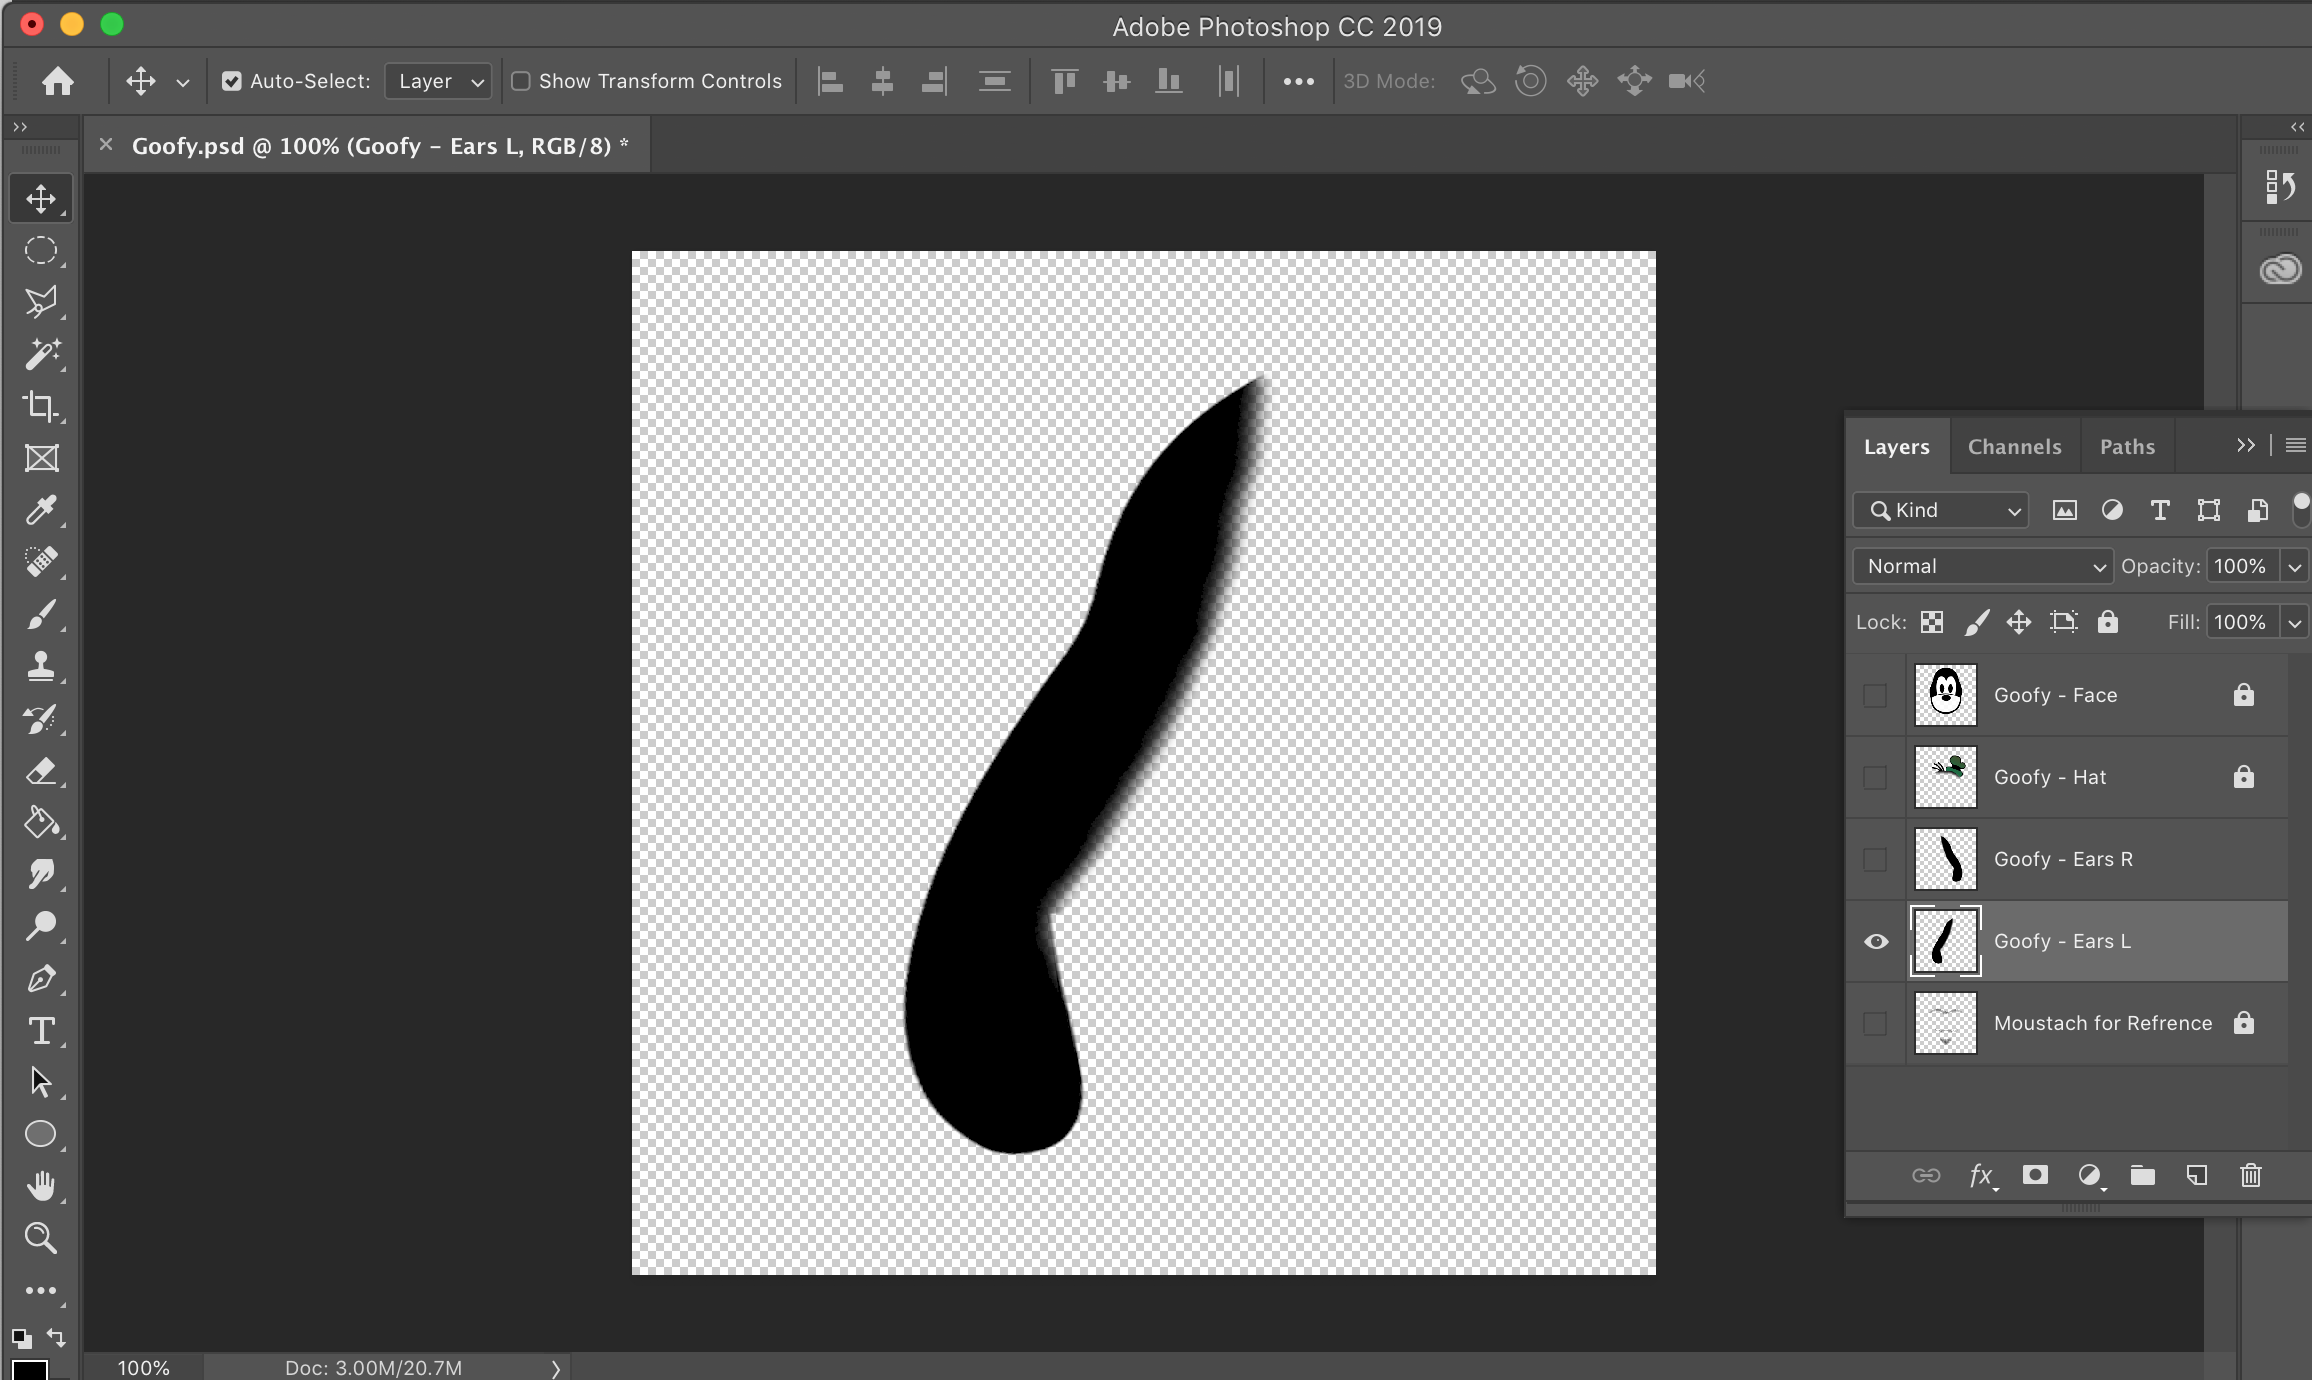
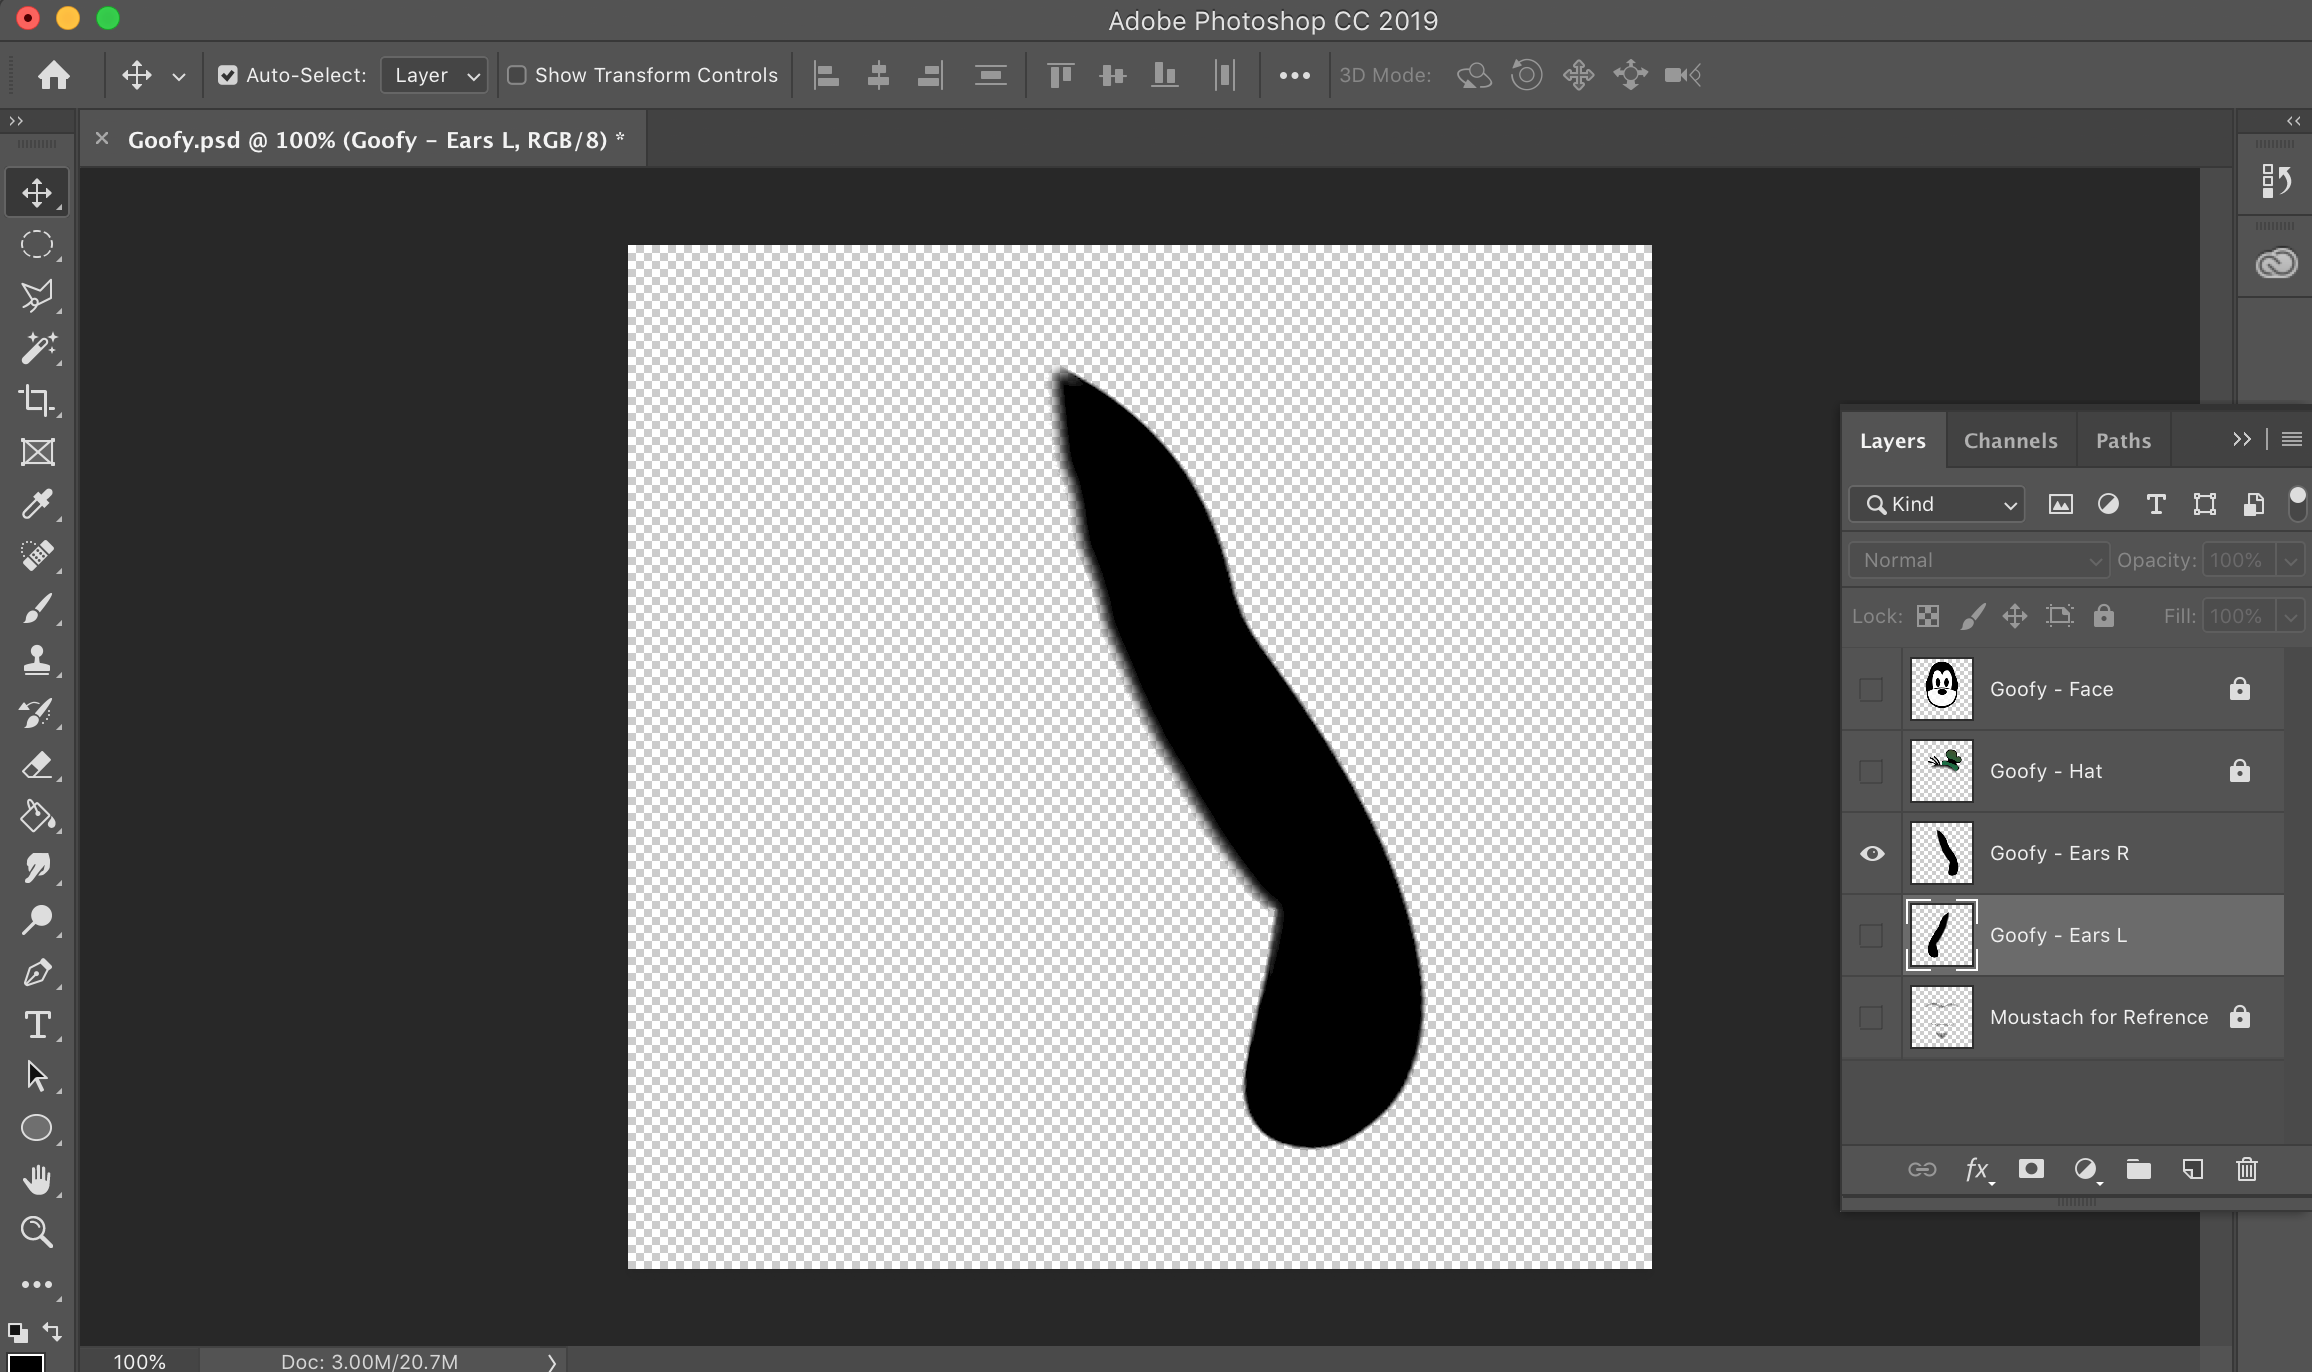
Using the tutorial file provided from Facebook Moustache.png as a guide of how large elements of my mask need to be, I began to scale out my vector. Goofy was the first mask created and the most complicated. The Goofy vector was simple, but I knew from previous projects I would have to separate out his hat, ears, and face all into four different layers to create the effect I required.
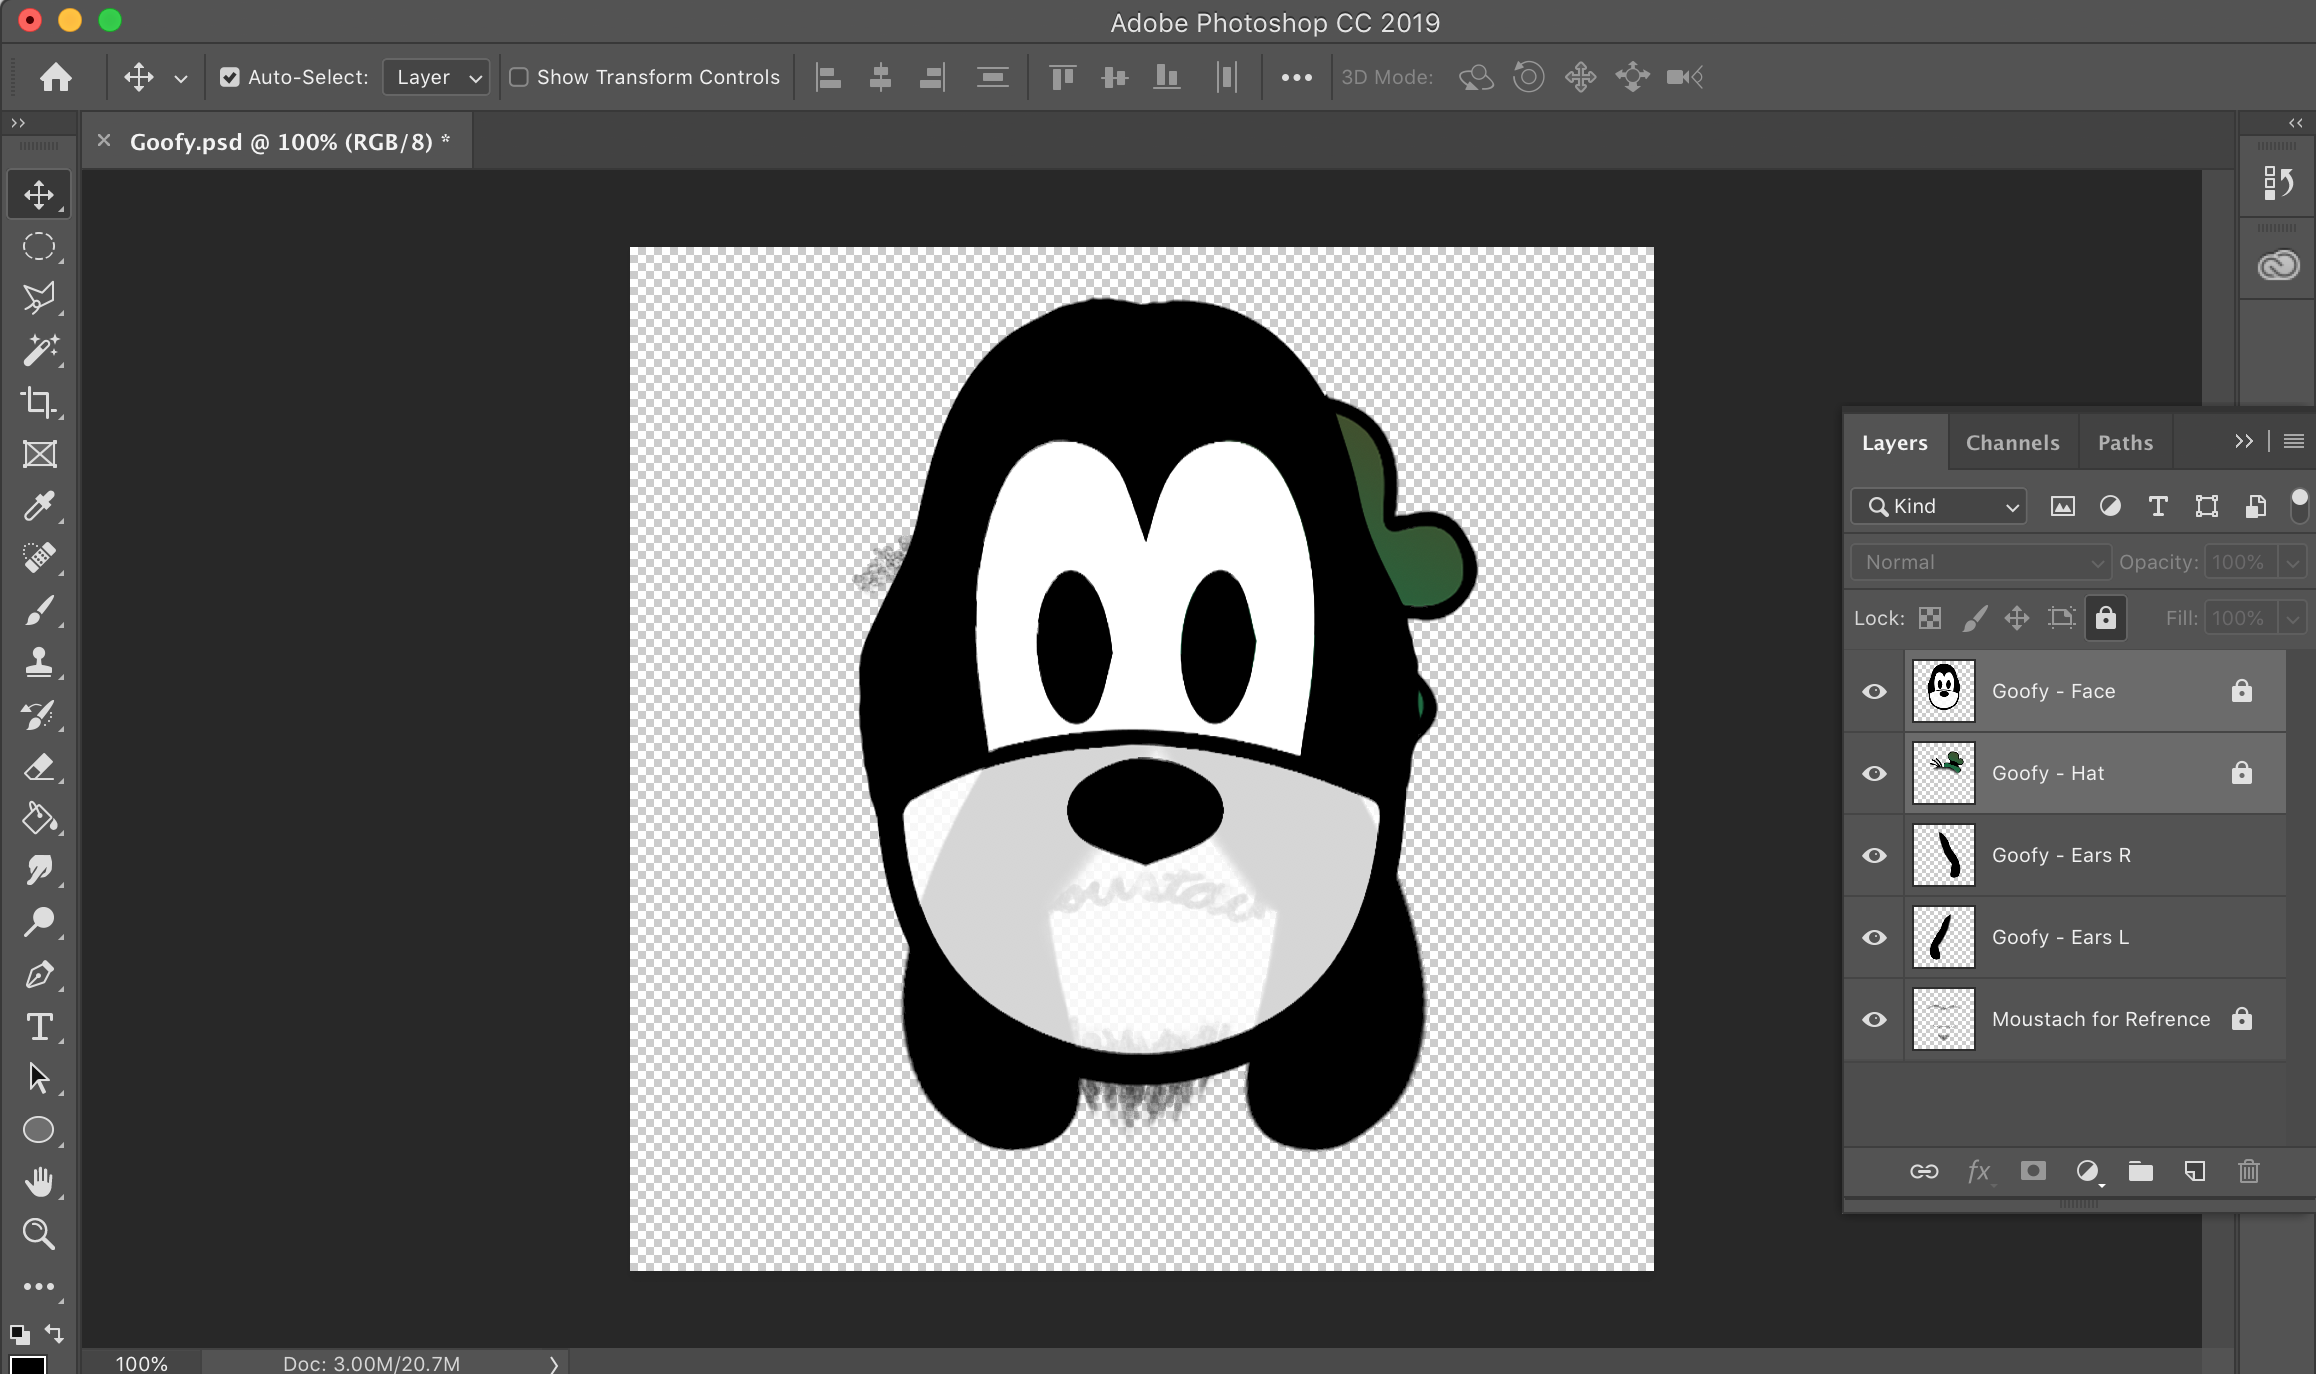


Trial and Error
With my layers created it was now time to save them as .PNGs to check my work. Mapping to a face is not an exact science, and it requires a healthy amount of trial and error to get it just right. My first attempt of the Goofy face didn’t stretch to the hairline, ruining the illusions. The second try it wasn’t wide enough, back to the drawing board. I went through multiple versions of each layer working to find the right fit.
Spark AR Studios
I expected working with Spark AR Studios to be very complicated and require more knowledge of coding that I possessed. I was happy to discover after walking through the tutorial a few time it’s not much harder than adjusting an image to just the right fit. I tested each material I created and moved them to the right spot on the model faces. Facebook provides a diverse group of face models for projects which allow for testing of designs.
At first, I allowed a user’s eyes to show through the design, but the effect ruined the illusion of a cartoon character. I found it better to keep them cartoon white and only allow for the mouth to show through when opened. Overall I was pleased with the effect.
Scavenger Hunt Process
Sketchfab & Photoshop

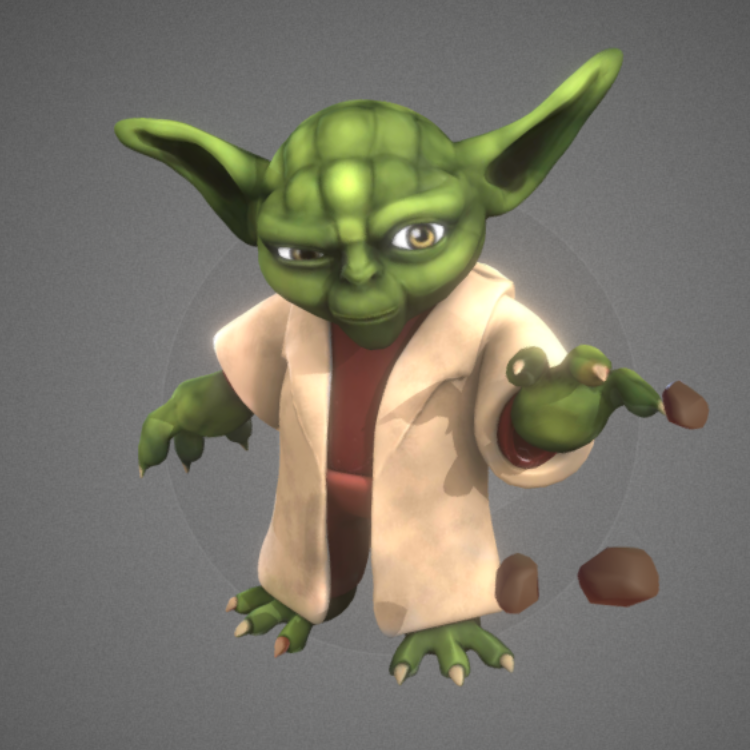
When it came time to create the scavenger hunt I wanted to keep with the theme of reality/animated movies. Adding a 3D character to existing hotspots in Disneyland would be the goal, but first, the 3D characters were needed. Sketchfab is a comprehensive site for a variety of 3D elements; the files are also compatible with Spark AR Studios. I wanted a classic character for Disneyland and a newer character for California Land. In both parks, the statues of Walt and Mickey are iconic. I used pictures found with a google search to capture the statues. Once I had a straightforward view of the statues I isolated them in Photoshop to create a trigger image.
Spark AR Studios
In Spark AR Studios you can create a Plane Tracker which activates once the camera detects a flat surface. I wanted to take that a step forward and activate the 3D effect when the camera recognized a specific image. The isolated the statue images in the previous steps now could be used for trigger images. With this element established I just needed to adjust the 3D item to show up on the same plane as the statue. Again with simple image adjusting until I had the desired result. I tested my effect on several statue pictures and had mostly positive effects. Since I'm in New York, not California I'll have to wait for my next Disney trip to try this out in person; but I'm confident it would work.
Prototype
This is walkthrough of the app with based off the existing screen. I highlighted the new features and built the screens to mimic existing content. The effects are static because they are only previewable from the Facebook AR Studio application.